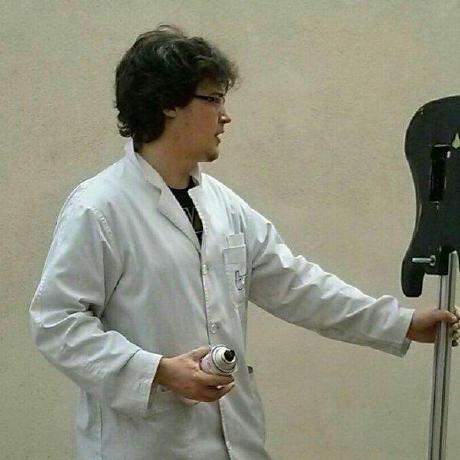
Erizos bailones
Erizos bailones (dancing hedgehogs) is a table with a matrix of 32 neodymium magnets that move up and down, each one driven by a servo. Around every magnet there is a pile of iron powder that follows its magnetic field, so when a magnet rises the powder bristles up like a hedgehog, and when it goes down the spikes collapse. We built it at BQ in 2014 for El Hormiguero, a Spanish TV show, where it danced with David Guetta.
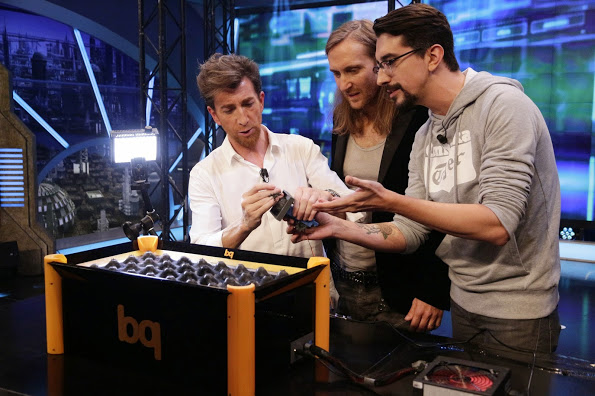
Each magnet moves inside a 3D printed cone, using a rack and pinion system, and the iron powder sits on top of the cone. This is what we used:
- 32 cylindrical neodymium magnets, 10 mm diameter and 40 mm long
- 32 micro servos
- Iron powder
- 78 M3x20 screws and nuts
- 8 M3x35 screws and nuts
The structure of the table is laser cut from 8 mm black methacrylate, and the rest of the parts are 3D printed in PLA.
The actuators
The first thing to build are the linear actuators. Each one needs a servo, a magnet, and four printed parts: a base, a pinion, a rack and a pivot.
The pinion is screwed to the servo horn with the screws that come with the servo. The magnet is press fitted in the hole of the rack; if it is loose, a drop of glue does the job, as long as it doesn’t reach the visible part of the magnet.
Then comes the tricky part: the servo needs enough range to move the magnet all the way up and down without hitting its mechanical limit. The easy way to get this is to move the servo to 20º with an Arduino, and while it holds that position, mount the rack fully retracted. Finally, the servo is screwed to the base with the long screws from the servo bag.
The table
The actuators are mounted on the drilled methacrylate plate, each one with its printed pivot, two M3x20 screws and two nuts. The rest of the methacrylate panels close the table, each fixed with four screws and four nuts, and the whole thing stands on printed legs. On one side there is a printed plate that holds the connectors and the start button.
Electronics
The brain is an Arduino Mega, which has enough pins to drive the 32 servos directly. To connect them, I soldered rows of male pins on three pieces of perfboard: two with three 12-pin rows and one with three 8-pin rows. Each servo plugs directly into the board: power comes from an external supply through the 5V and GND rows, and the signal comes from the Arduino, on pins 22 to 54. The GND row is also wired to the GND of the Arduino, and the start button goes to pin 2. A USB-B extension and a power jack are fixed to the side plate.
32 servos moving at the same time need a lot of current, so the power supply is an old ATX computer PSU. Only the red (+5V), black (GND) and green (PS ON) wires are needed:
- The green wire is soldered to a black one, so the PSU turns on as soon as it’s plugged in
- The red and black wires go to a male jack, with 5V in the center and GND outside
- The rest of the wires are cut and insulated to avoid short circuits
Of course, do this with the PSU unplugged and discharged.
Programming
There are two programs. The dance steps and their order live in the Arduino Mega, and a small program on a computer plays the music when the button is pressed, so the dance and the song start together. The song is cut to start at the chorus.
Here it is in El Hormiguero, with David Guetta:
Comments